The following ghost mannequin tutorial is going to show you how to join clothing neck in Photoshop.
If you want to learn to join the neck of clothing, then this easy ghost mannequin tutorial will be your best guideline. Just follow this and you will be able to join clothing neck within a short time. Promise.
Have you ever tried to join the clothing neck to create ghost mannequin effect? Possibly you have tried but failed due to lack of proper knowledge or guidelines. Don’t worry. Today we will show you the most easy way to join the clothing neck and the following ghost mannequin tutorial will be your best guideline. In the world of photo editing this process is as important as clipping path service to remove background.
Throughout the whole article we tried to explain what kind tools are use to join the neck. We have also showed the most easy procedure so that you can create the ghost mannequin effect in a short moment. In essence this ghost mannequin tutorial is going to be your best helping hand to join the neck of the cloth.
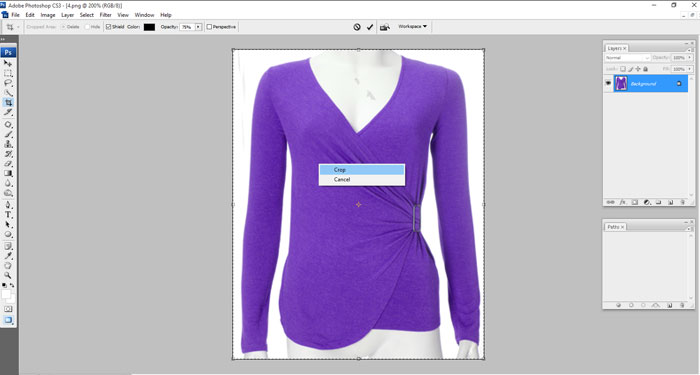
Step 1
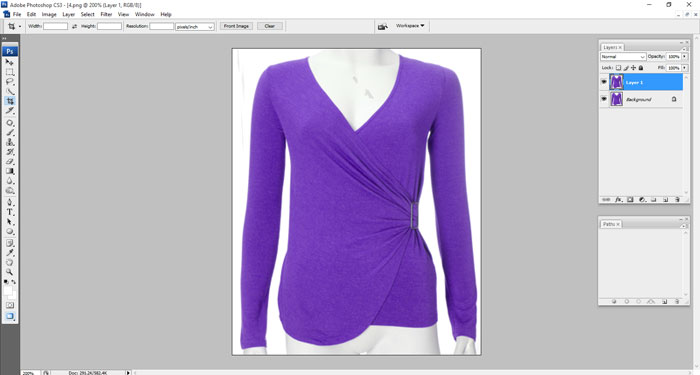
The primary step of this image manipulation tutorial should involve cropping the image so as to have a lowest background that can be seen from the back of the jacket. You can perform this by choosing the Crop tool in the toolbar at on the left side of your display. So crop the photo first. Now that you have the front of jacked shown on your display, you should copy a layer by clicking Ctrl+ J.
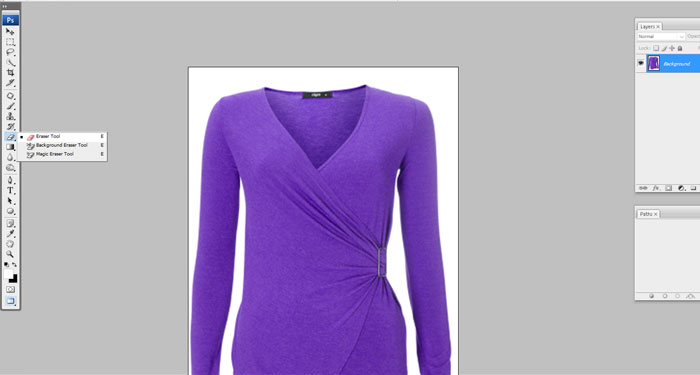
Step 2
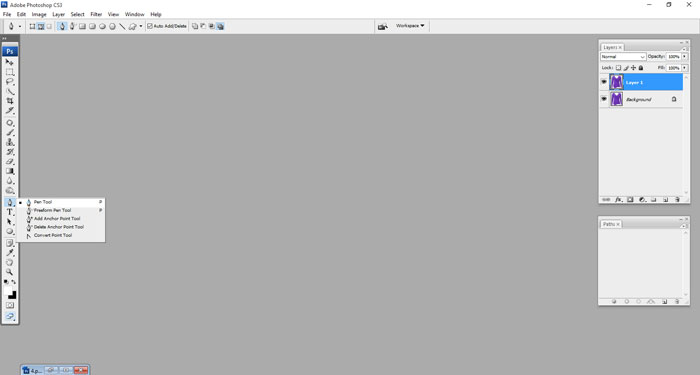
The second step involves choosing your Photoshop pen tool and cut off the background by clipping path service as well as mannequin from the jacket.
Step 3
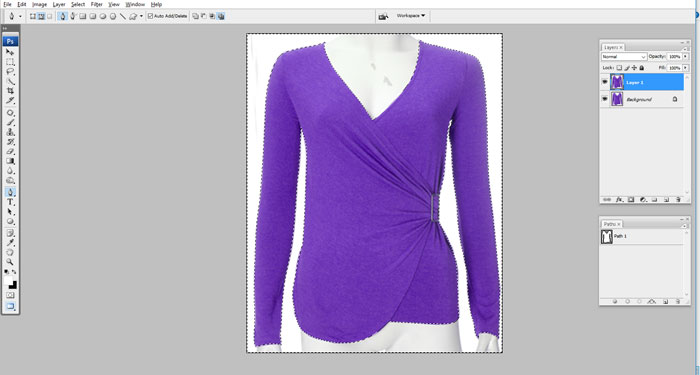
In step third, begin at the highest part of the collar just where the mannequin neck begins and move downwards following the neckline mannequin. Work out perfectly and slowly so as to get your way along the collar line.

Step 4
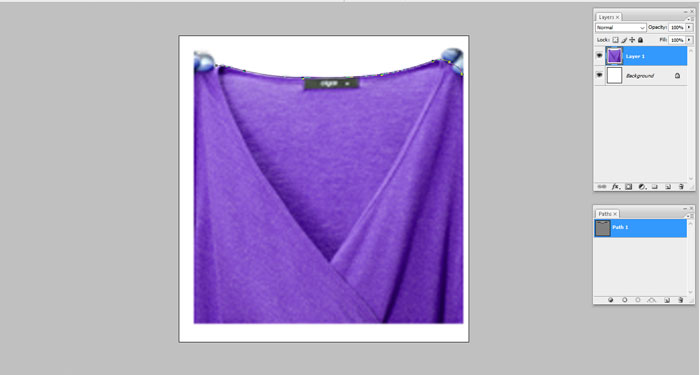
Once at the collar top spread the path to the edge and peak of the page, on the other side, and down the page edge. In step six, you repeat the same for the clothing mannequin legs and end making a path to the next place joining at when you view the “O” symbol.
Step 5
Next, click the path palette by holding CTRL, choose paths inverse selection and remove the mannequin.
Step 6
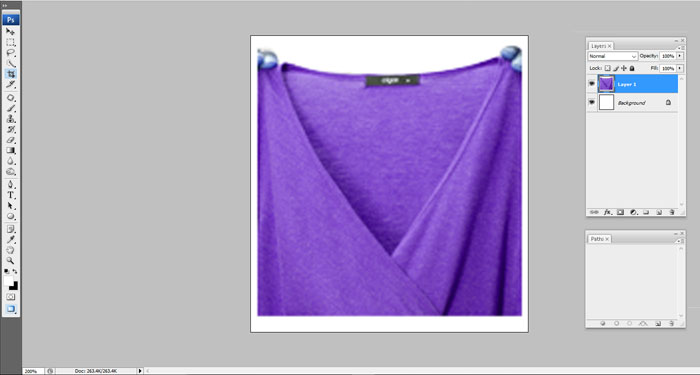
You can now open the inside of the cropping garment the collar label or area.
Step 7
You should press Click- C, A, and V, moving inside the cropped area in front of the primary picture of the jacket.
Step 8
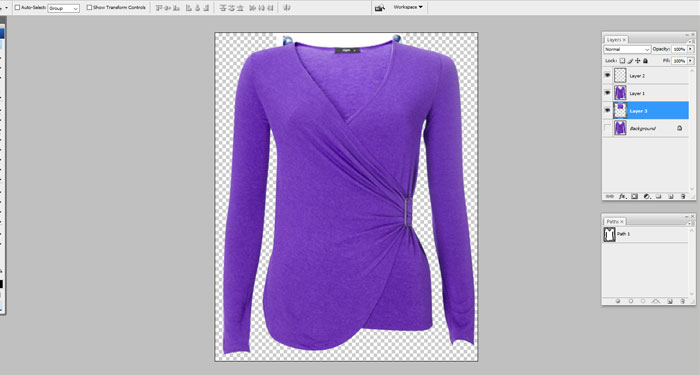
At this point, move the fresh piece under the primary layer of the jackets front, then plan how much shirt you need after you are positive the replacement was thriving. Choose the pen tool, from the top of the collar cut via the area you interested and cast our surplus clothing.
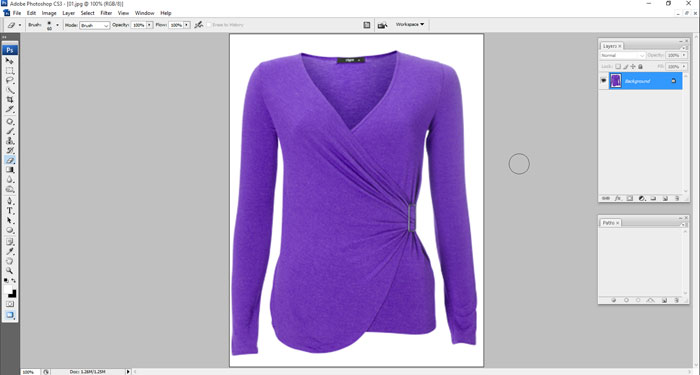
Step 9
Choose the eraser tool soften the uncut places around the edges and delete them from the collar. Make sure that there is no seam between the fresh piece and the collar, and you may leave a shadow if you want to and provide it a best finish.
Step 10
You may use a size twenty five brush to append darker colors on the lower side of the inside collar so that it emerges more realistic.
Using your Photoshop tools permits you to perform absolutely everything on your image shots to get your wanted pictures in the top way possible.