The simple Photoshop clipping path tutorial is going to be your best guideline to remove background from images perfectly.
Have you ever tried to clip an image and remove background? Today we will show you the best ever easy procedure of Photoshop clipping path tutorial. If you follow this guideline carefully, you can clip images perfectly. Promise.
Clipping path is one kind of vector path which is used to select an item separately from it’s surrounding elements. The purpose of image clipping path service is to separate that item exclusively and remove other irrelevant background and items. Photoshop clipping path Service Company offers this service to their clients for post editing of any images. This Photoshop clipping path tutorial will explain how to clip or select an image with pen tool and how to remove unnecessary background.
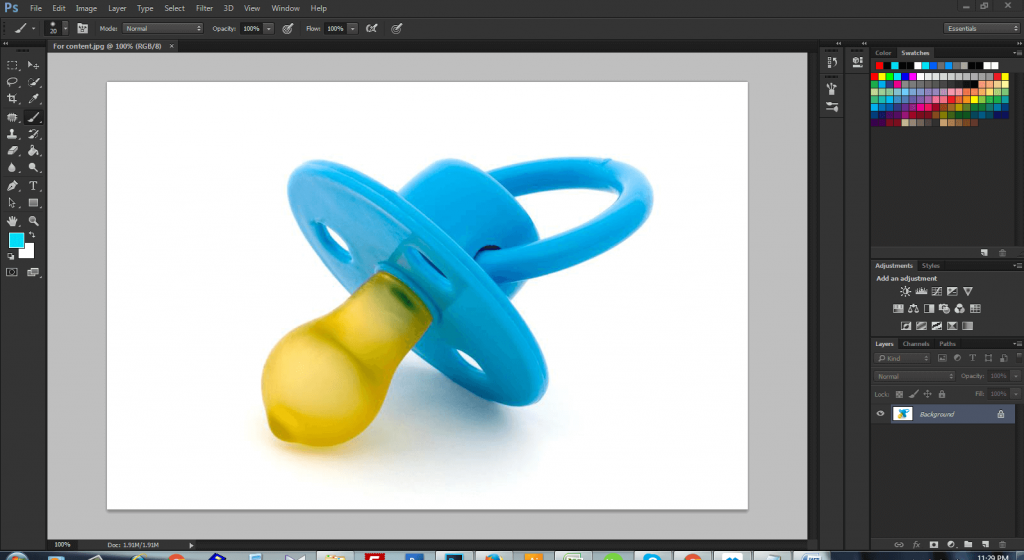
So, let’s start clipping path Photoshop CS6 process. At first we will open a new images which we will clip and remove background.
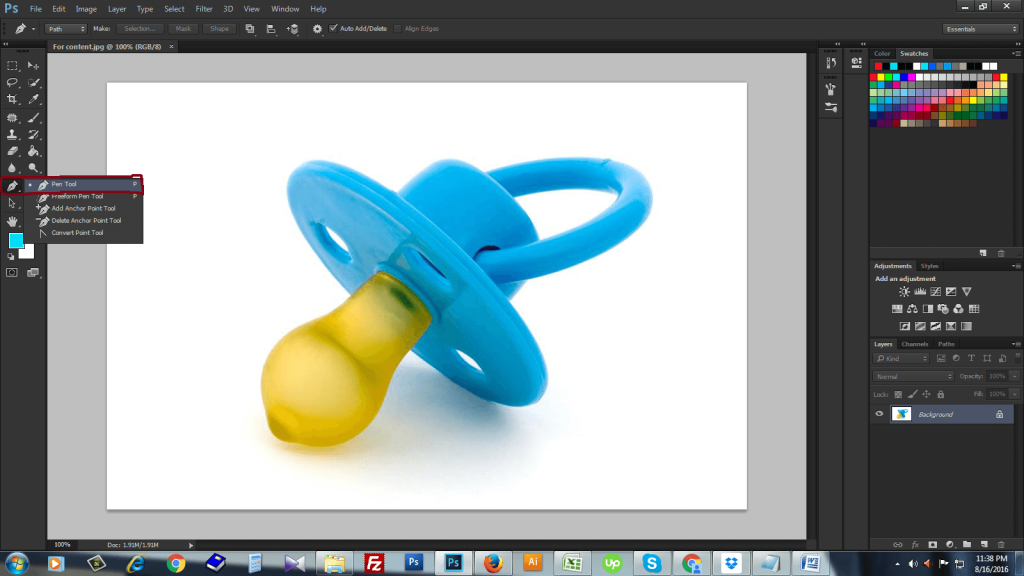
Now select pen tool from tool bar. Please keep in mind only pen tool can clip an image perfectly. You can use other selection tool like, quick selection tool, magic wand tool, lasso tool, polygonal lasso tool or magnetic lasso tool. But none of them can bring exact result. Only pen tool can provide you best result.
Now start photo clipping service with the help of pen tool. While going to start please start from most easy part of the image.

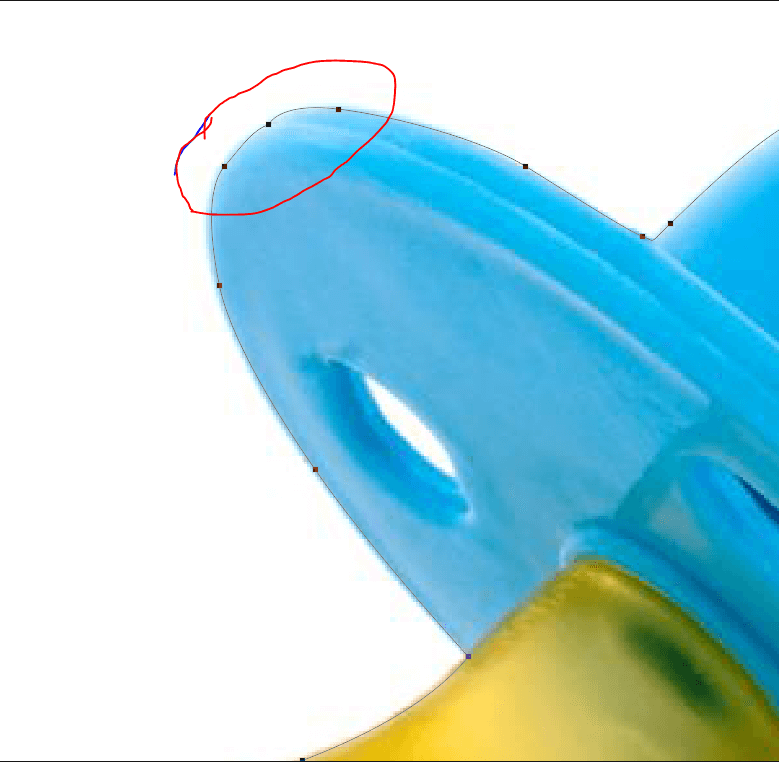
Here another important matter is before going start clipping path you should zoom in the image according to necessity. If you make the image larger, you will be able to clip each part and corner of your image in a very subtle way. Here we have zoom in the image at 259% for exact visibility.
![]()
So you have started clipping your images. Keep clipping until you get the starting point from where you started to clip.
You should always remember that you can’t finish clipping path until you touch the starting point of clipping. Please see the image where we have finished clipping and joint to anchor point.
So, you have finished your clipping path perfectly. Then right click on work path from path layer and click “make selection” option.
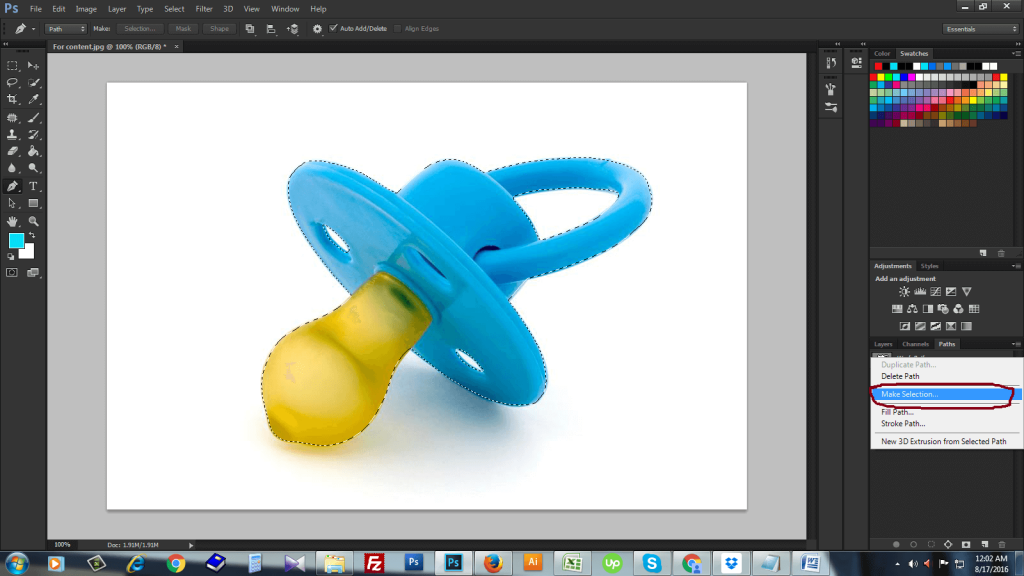
Please see the effect after selection of clipping path.
Now press Ctrl+Shift+I from your keyboard in order to invert your selected item so that you can separate that from the background easily. Please see the effect after inverting of image.

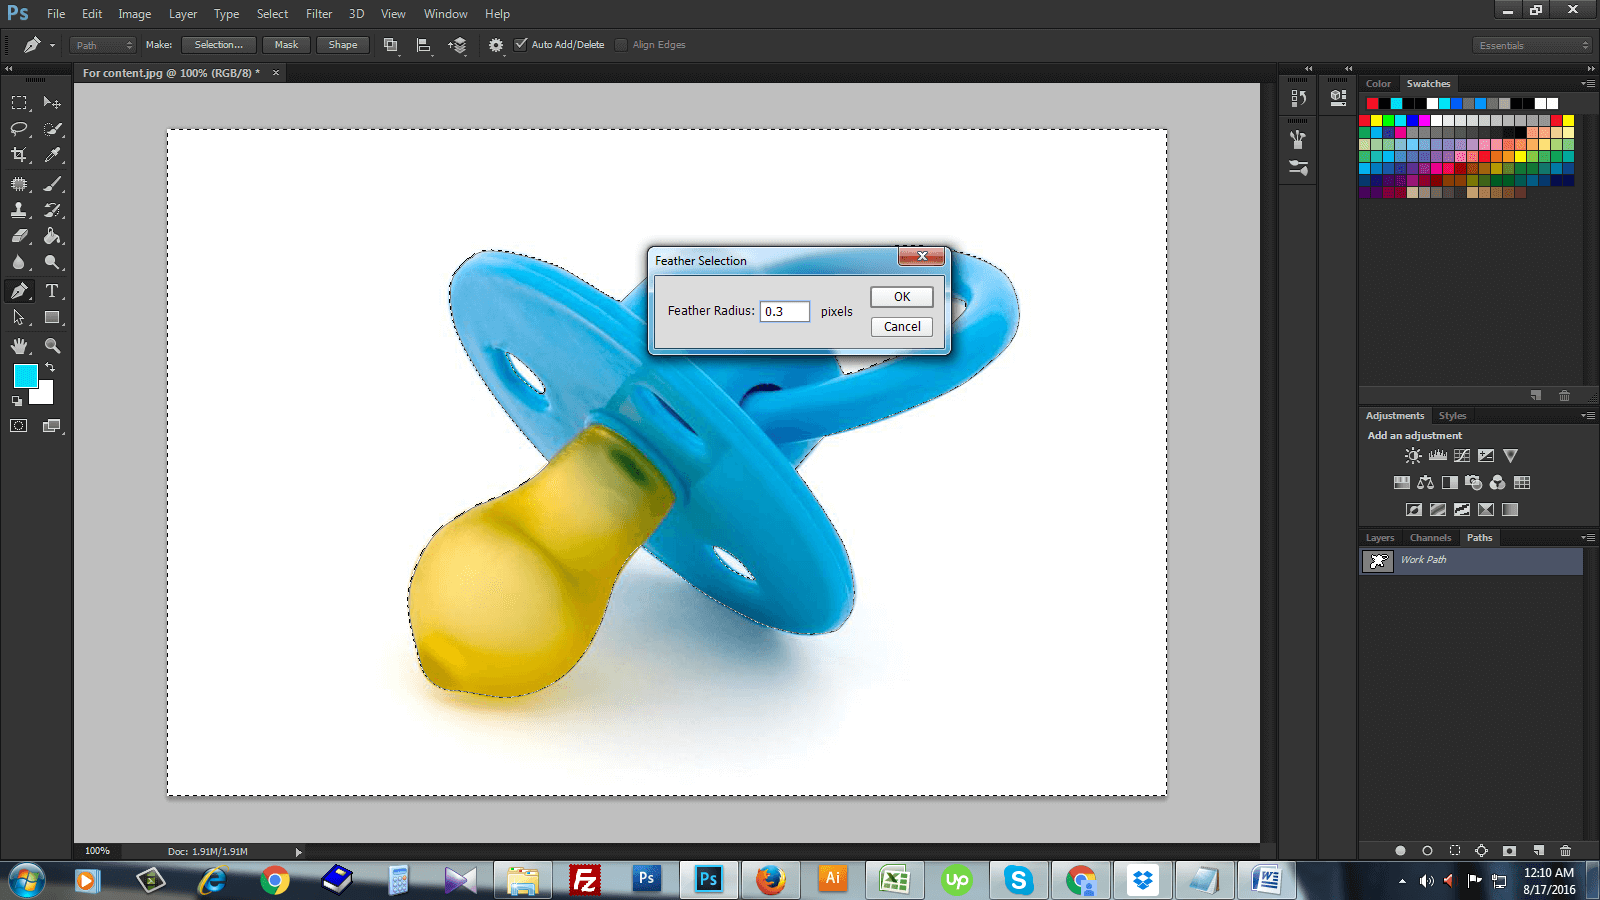
Then press Shift+F6 on your keyboard to take feather. Here we have taken the feather radius 0.3. The reason of taking feather is to smooth the sharp edges of the item.

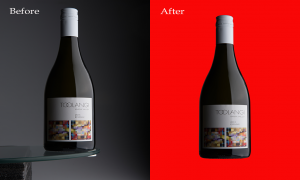
Now if you click Ctrl+Backspace the background will be removed. The image now will take the background color that you have selected before. Here we have selected white background color and that I why the background become white when we press Ctrl+Backspace. Then we will press Ctrl+D to remove the selection around the item.
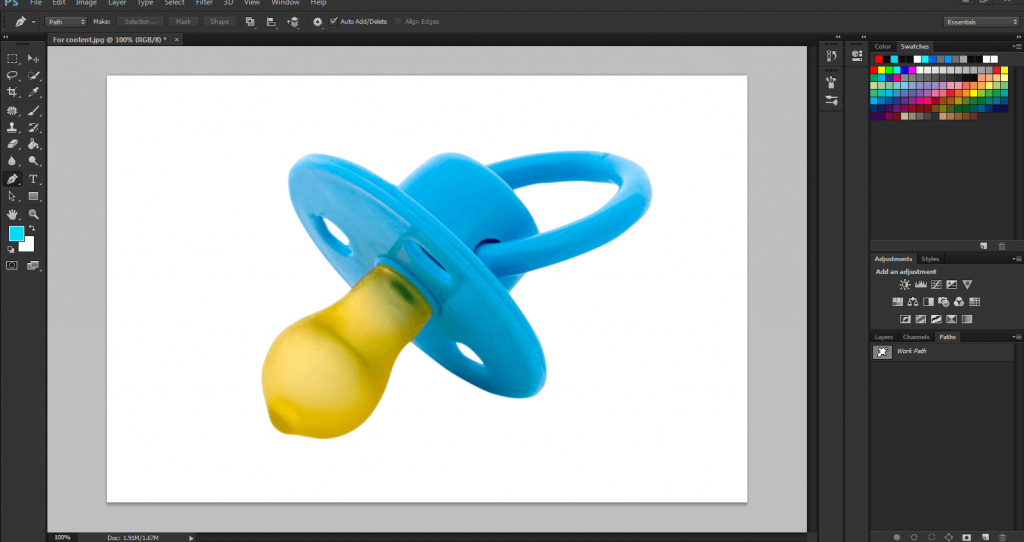
So, we have removed the original background and make the background into white. Isn’t it so easy? If you follow this Photoshop clipping path tutorial only once or twice, you can easily remove background from any kind of images. Offshore clipping path service providers offer this easy process at lower cost. But if you are able to remove background from picture with the help of this adobe Photoshop clipping path tutorial, you can save your time and money also.
Thank you for following.