Remove background using eraser tool and how to do that.
The following tutorial is going to show you how to remove background using eraser tool.
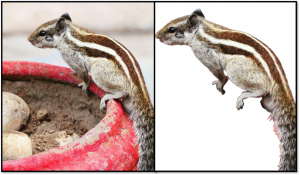
Do you know you can remove background from image without clipping path service or pen tool? Yes, it is possible! You can easily remove background using eraser tool from images. And we will show you how to do that.
It’s an one minute process! Believe! And it’s so easy.
Just follow the following few tips. And promise you will be able to remove background from any kind of image easily and quickly without clipping path service.
What is Eraser tool?
The Eraser tool is basically a brush. You can replace the hardness, size and spacing, just like other brush. It is also easy for you to replace the mode from Brush to Block or Pencil. Instead of painting on the pixels of your pictures, anyway, the Eraser removes the unwanted pixels. Those pixels are now erased and can only be brought back to life though “Undo”.
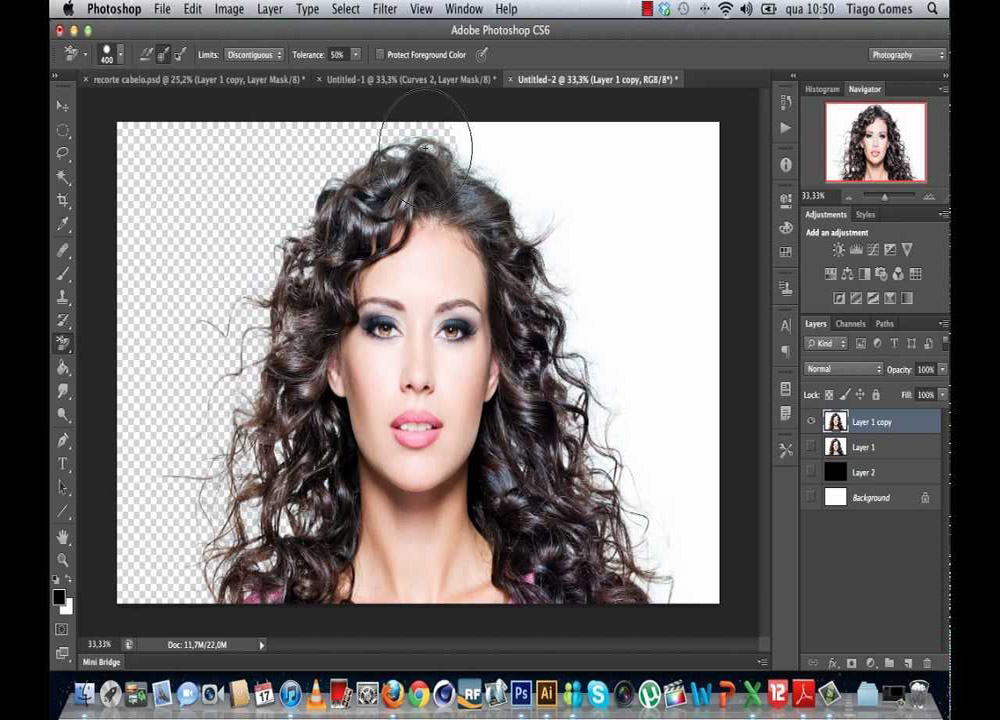
It will look like you are exactly painting with the background color although you think you are erasing, unless you delete the lock on the background layer. Delete the lock on your layer so then you can hide it and then you can view the checker pattern underneath.
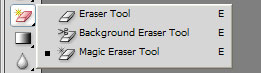
Magic Eraser Tool
The Magic Eraser tool jobs works similar like a Magic Wand tool in that it choose a big space based around contrasts in pixels. In reality, the Magic Eraser jobs actually the same way as Magic Wand instrument and then hitting remove.
How to Use Eraser Tool to Remove Background
The Magic Eraser Tool is used to remove background shade or drop shadow for moderately hard pictures. This instrument is similar to the Magic Wand Tool, expect that the Eraser instrument that permits you to delete the real background from a picture and make it clear so you can place your picture on a fresh background or place it into an altogether fresh image.
Step 1
Find the Magic Eraser Tool from the regular eraser tool. Only touch the magic eraser instrument and it will emerge up.
Step 2
The next place to look at is the tolerance place at the peak of the display, this can go anywhere from zero to two hundred fifty five. The lower that number, the less spaces that can be replaced. So this should be left at the default of twenty two. After that you will view the anti alias package, this is used to create a perfect, level edge, so you need to go that box checked.
Then you will view a box known as contiguous, now that means a shade will only go to transparent if it’s linked to the shade you have checked on. Now if you unchecked the box, you will find that when you click on the shade (say black for example), it will replace all the black color in the full image to the transparent, including any in the picture, and you don’t need that, so leave the box checked. The next box says all sample layers, reject to check that box. Final there is a box that says hundreds percent opacity be sure to leave that checked.
![]()
Step 3
Then you only simply left click on any of the place of the model picture and the background will vanish.

Step 4
So you can now vanish full background place are by left clicking on every different shade of the background.

To include a background we only created a fresh layer and applied.
So, isn’t it so easy to remove background using eraser tool in Photoshop? If you are a beginner and if you are now able to delete background by clipping path or pen tool, then eraser tool can meet your needs. It’s so much essential and can erase background from any images.
If you want to know more about easy background removal process, then please see our blogs or contact us.