Ghost Mannequin Effect is an image manipulation technique in Photoshop.
And the following example is using a jacket to show how to remove the mannequin and join the neck of the jacket.
Purposes of ghost mannequin effect and how can you implement it:
In photo editing world there are many services which are use to enhance images. And creating ghost mannequin effect or neck join is one the highly demanded photo editing services.
Through clipping path service designers extract images from it’s background. Similarly with the hand of drop shadow, resizing they create appealing effect on images.
In the same way ghost mannequin or neck join service is also important to make an image usable and perfect for any specific purposes. And this tutorial on ghost mannequin effect will explain how to joint the neck of a cloth very easily and perfectly.
The raw images are not always usable directly for any purpose. Those need some changes or editing for enhancement. In order to to make any image good looking we at first want to remove background or extract the image from background by clipping path service.
And if the image is with neck of mannequin, then we have to remove that neck and fill up the empty area with extra neck files to make the image completed, natural and good looking.
Few easy steps to create ghost mannequin effect:
To begin, we will need a picture of the jacket on the mannequin, one picture of the jacket in hand with the front and back of garment.
The inside of the garment with the collar in upright position along with the label of the jacket will also be needed.
STEP 1:
Open the image of the jacket and crop the photo as much as possible.
Remove background of the image as well if possible. You can remove the background of the image by using the pen tool, background remover tool or the magic eraser tool.
STEP 2
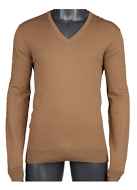
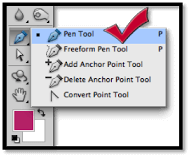
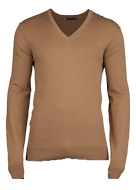
Now we need to remove the mannequin from the jacket. We can do that by selecting the jacket with the Pen tool.
STEP 3:
You can visit the blog on how to remove background from an image in Photoshop and follow the same method for removing the mannequin as well.
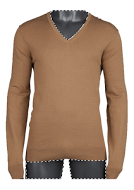
Start from the top of the collar and begin working your way down to the end of the jacket.
Once the entire jacket is selected, hold the control/command button and click on the path, now inverse and selection and delete. This will delete the mannequin from your image.
STEP 4:
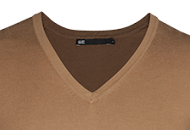
Now open the image that you clicked for the inside of the jacket with its name, label and crop
the area neatly by the pen tool.
STEP 5:
Paste the cropped neck of the jacket near the jacket by pressing Ctrl/Command + V.
STEP 6:
Now move the cut neck of the jacket underneath the first layer of the jacket so that it can show and adjust and match the collar of the jacket and the neck of the jacket. Use the eraser tool to remove any extra edges of lines around the jacket. Blend in the area so that there is no seam between both layers. Touch up any other areas to give it a more polished look.
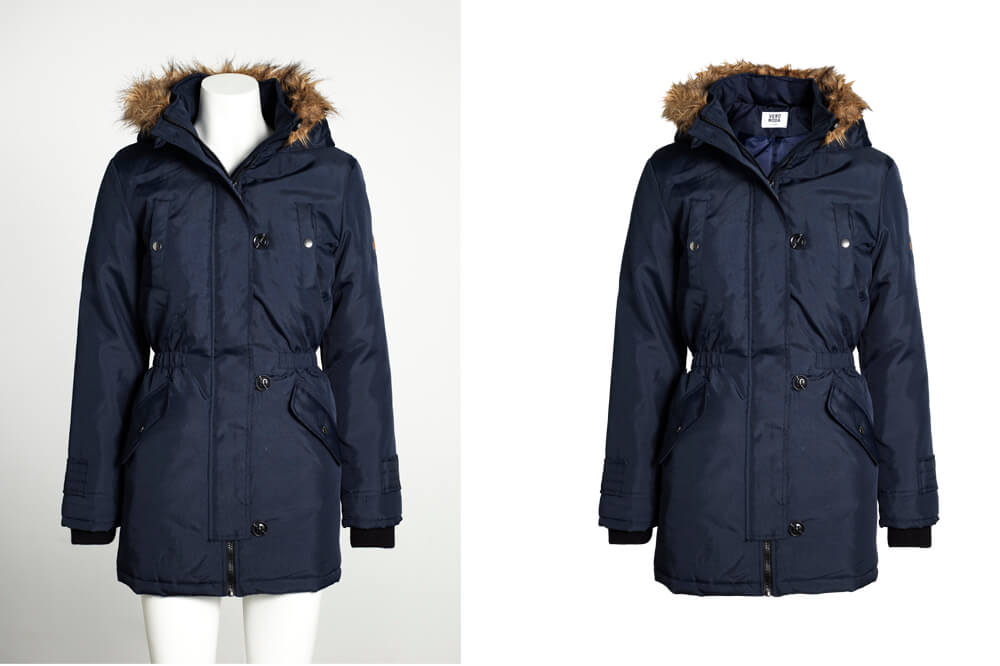
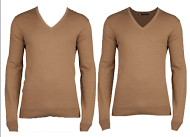
So, this is a ghost mannequin tutorial on how you create a “Ghost” or make the mannequin “Invisible” using the Photoshop tools.
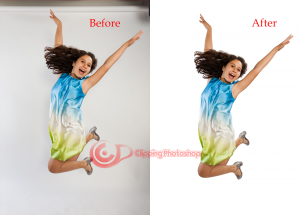
Look at the below before and after picture.




Hi, Its really amazing web site. I really like this site and your work also.Thank you for share it.
Thank you very much Sakil for following our tutorials.
nice
Thank you