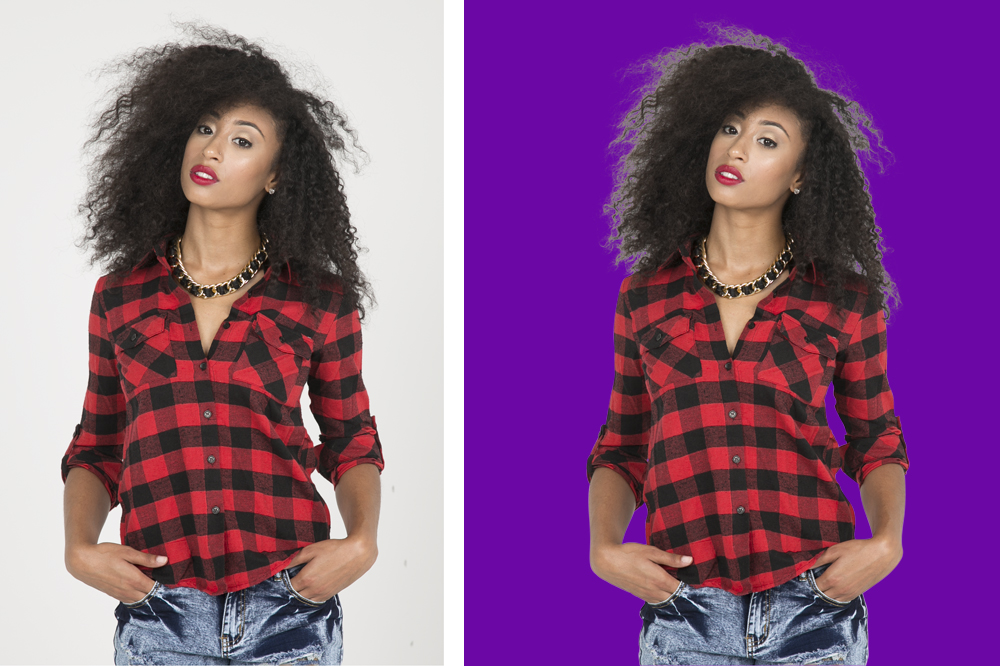
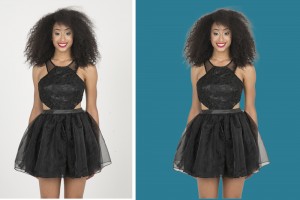
This helpful Photoshop hair masking content will explain how to remove background from a hairy model image perfectly.
The reasons of using Photoshop hair masking method to remove background from hair image.
You often face a situation where you need to change or remove background from hair image. Through clipping path service you can remove background from any normal images that haven’t hair or fur. But if your image has small parts, which are difficult to remove, example – as a model with long flow curly hair, you of course you have to use Photoshop hair masking technique.
How will that be done without spending time in zooming in and choosing those areas one by one? To make life easier, there is another technique called the masking technique that can easily help you out? And hair masking technique is better than clipping path service to remove background of complex hair images.
STEP 1: Open image for Photoshop hair masking
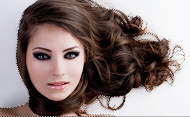
Open the chosen image in Photoshop and make a rough selection of the person you want to extract from the original image. This rough selection will help you to initiate the hair masking in Photoshop.
STEP 2: Create layer mask
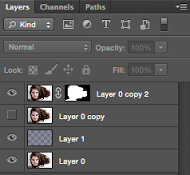
Create a duplicate layer by holding onto Ctrl/Command + J and Create a Layer Mask on the duplicated layer. To mask images perfectly you need this new layer. This will help you to create clipping mask quickly and easily.
STEP 3: Use quick selection tool to include selection
There are plenty of selection tools to choose from in the toolbar, but the best hair masking tool for Photoshop is the Quick Selection tool.
Activate the Add To Selection icon in the top sub-menu and click and drag over the areas you want to include in your selection. If you need to remove any areas from your selection, hold down the Alt key to temporarily change the tool into Subtract mode.
STEP 4: Use refine edge for detailed selection
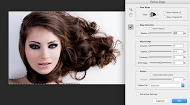
Once you’ve got your rough selection, go back up to the top sub-menu of the Quick Selection tool and click on Refine Edge, which will allow you to create a much more detailed selection. This will open up a new dialogue box. And, refine edge provides the opportunity of masking hair on Photoshop.
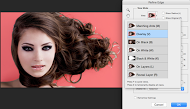
The first thing we need to set is the View Mode, which can be set to any view mode you wish. Overlay mode will give you a good idea of what has been selected, while still being able to see what all hasn’t been selected or is missing.
On White or On Black are great for viewing cut outs that will be composited on light or dark backgrounds.
STEP 5: Refine the selection
For this particular image, we will work with Overlay and to remove background from hair image you will have to be more careful in this step.
Lets start refining the selection. Near the top of the Refine Edge dialog you will see a section called Edge Detection. Drag the Radius slider towards the right in small increments to see more of the finer details included, particularly if you have sections of fine, flyaway hair.
You can also try ticking the Smart Radius box to let Photoshop decide the radius for you.
STEP 6: Use refine radius drawing brush to bring in even more details
Next, use the built in Refine Radius drawing brush to bring in even more details, which will again be useful on hair.
Brush carefully around the edges of the hairline to select any missing areas.
Pressing Shift + E will also bring up the Erase Refinements Brush if you’ve been a little too enthusiast with your refining.
Step 7: Adjust Edge sliders
Now you’ve got everything important included in your selection, go to the Adjust Edge sliders. Now we are at the end of Photoshop hair masking process.
Use the Feather slider in small increments to gradually soften the edge of the selection – in some composite environments this can help create a more realistic look.
Shift Edge is handy for removing any glowing edges from selections against white- or light-colored backgrounds.
Step 8: Select output mode to bring more detailed hair
Now select your Output mode. Choose New layer with layer Mask as the output is a non-destructive method that will give you room to go back and bring in more of the image later on if you’ve missed any areas by accident.
Step 9: Press OK to confirm the selection
Before you press OK and confirm the selection, think about checking the Remember Settings box at the bottom, which can save you a lot of time if you’re cutting out people and objects if they have the same lighting, background and/or model.
Press OK to confirm the selection. A new layer mask will appear.
Step 10: Touch up minor areas to remove unnecessary elements
Finally, click on the new layer mask and touch up any minor areas with a brush: soft black to remove elements or white to bring them back in.
So in this tutorial we have tried to show masking hair with complex background and how to remove background from hair image properly. If you want to know more about background removal service, you can follow our another important tutorial on how to remove background from image in Photoshop.


