Change hair color in Photoshop and how to do that.
Today we are going to show you another exciting tutorial. In this tutorial we are going to show you how to change hair color in Photoshop.
Sometimes we need to change the color of hair according to the requirements of clients. Changing color of hair needs a bit tricky techniques. It is a vital Photoshop technique like clipping path service to remove background. In order to change hair color you should apply some advanced techniques of Photoshop. And this tutorial is going to show you those procedures on how to change hair color in Photoshop.
It’s another name is color changing or color correction service. So, let’s start to change the color of hair.
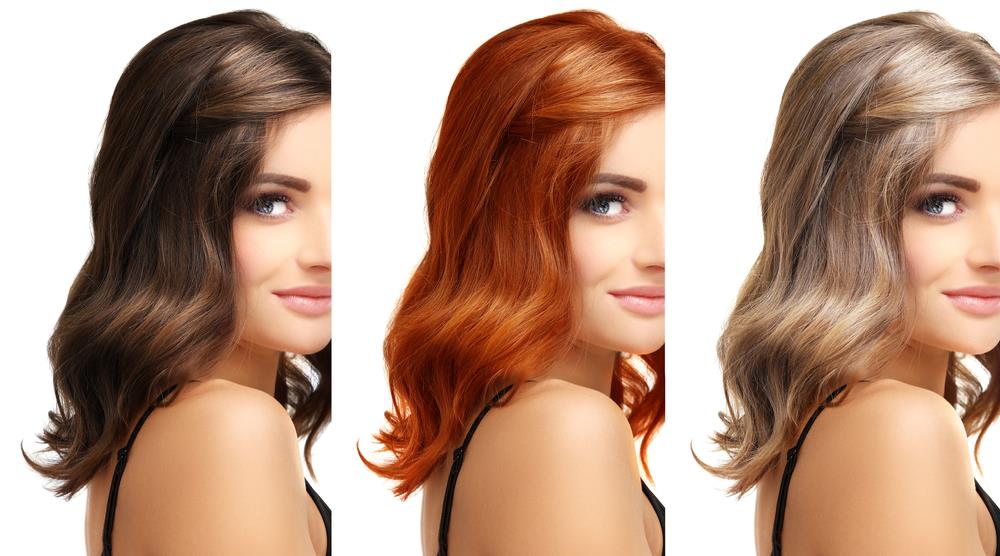
We will be working with this woman photo and we will show you how to change this woman’s hair color to black and red.
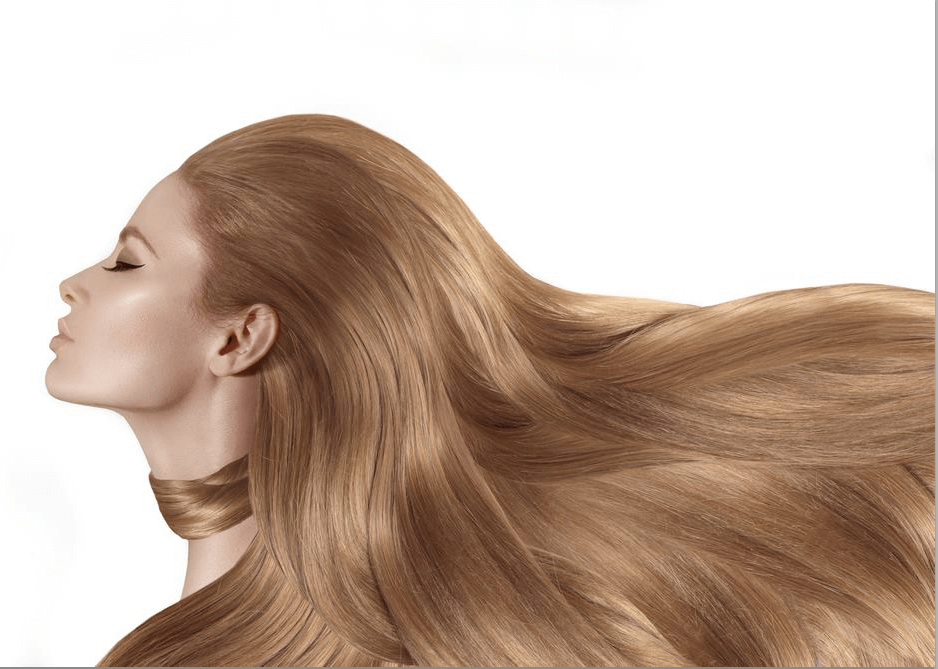
Please always keep in mind that it is easier to change hair color in Photoshop from light colors to dark. On the lighter hair you will get more details and therefore you will be able to make more adjustments. On the other hand change hair color from dark to light is much more difficult. In that case we will not get details hair and it will not look realistic.
Change hair color in Photoshop is a very creative task as the hairs of photos are different from each other. So we will request you to pay more attention to the principles and techniques we will apply.
So let’s get started with the tutorial.
At first we will click on the Quick Selection Tool and make a selection out of her hair. And we will apply the adjustments only on the hair portion.

So lets make a selection of the hair. Just click on the background layer and start selection with the help of selection tool. We can increase or decrease the size by hitting on the right and left bracket key on the keyboard. Then we will be continuing selection the rest of the hair. You don’t have to be very precise here. We will use the Refine Edge to adjust the selection. For now just try to get the larger areas of the hair.

Please remember while selection if you make any mistake, you can amend that with the Alt option of keyboard.
So, we have made the selection of the hair. Now we will click on the Refine Edge Button in the Options panel. And we will also click on the Smart Radius option.
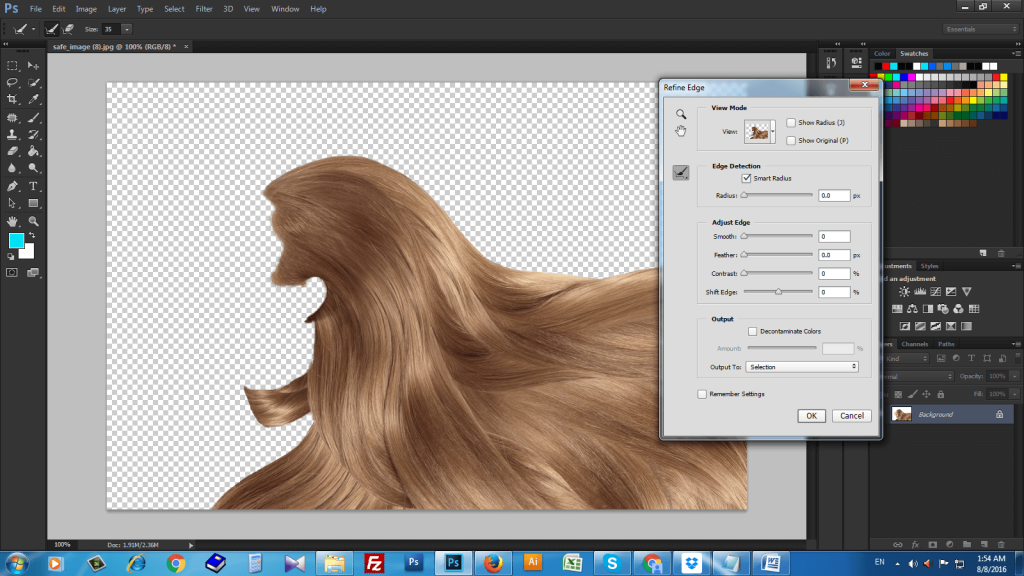
Now we will increase the size a little bit. Now with Refine Edge Selected we will refine the edges, areas where stray hair sticking out. In this way we will get a nicer selection of hair. You can also increase the smoothness, feather and contrast to make a perfect selection. Now we have done the selection. Now you can press on OK.
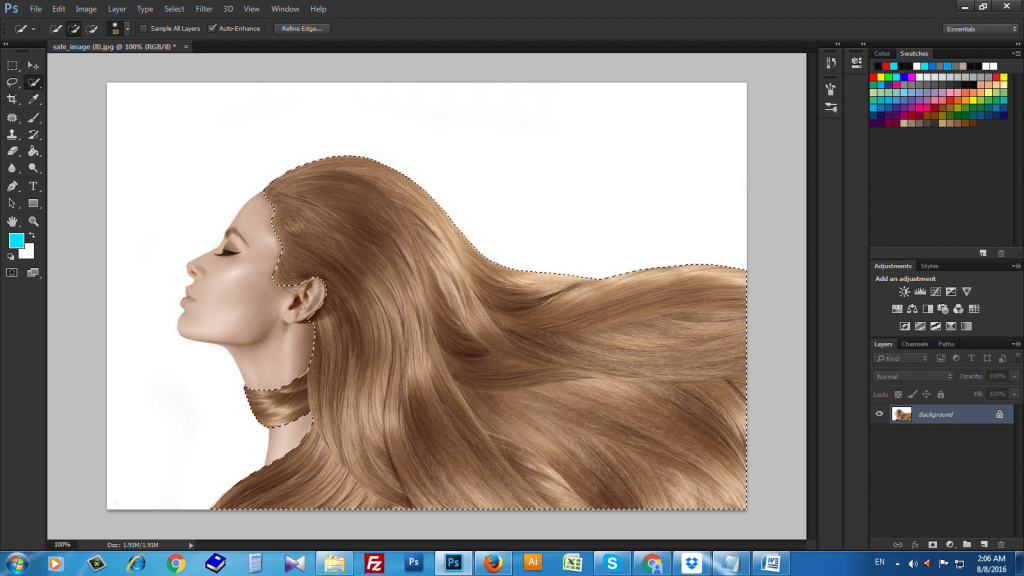
Now we will not apply selection on the layer. Rather we will create a new group and then we will apply the Layer Mask to that very group. The reason of doing this is so that we can stack multiple Adjustment Layers inside of that group. It will only affect the hair.
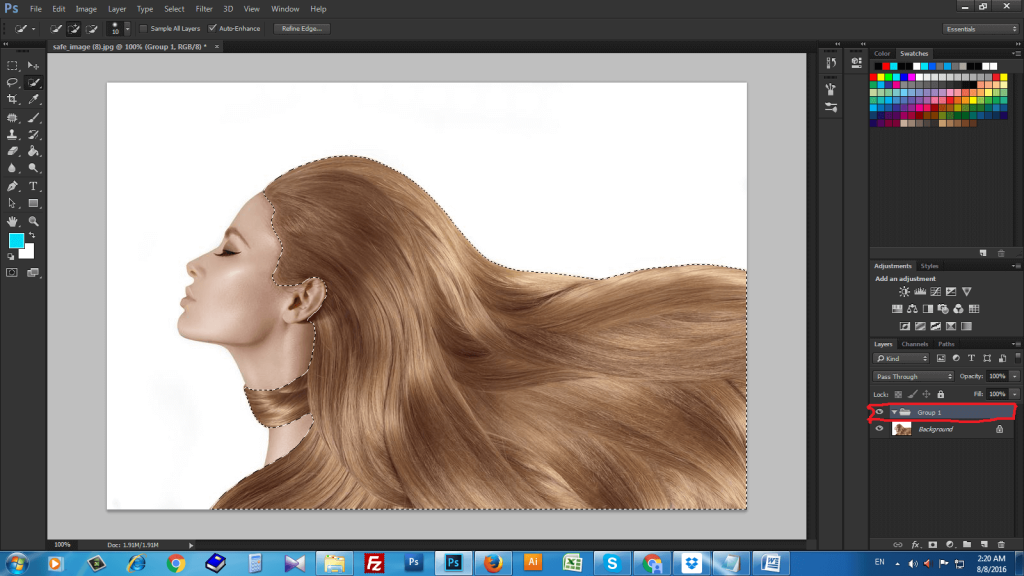
If we want to make any changes to the mask, we will have to do that on that group instead of on the individual Adjustment Layer. Just keep watching what we are going to do.
Then we will create a Hue and Saturation Adjustment Layer. This layer should be in the group.
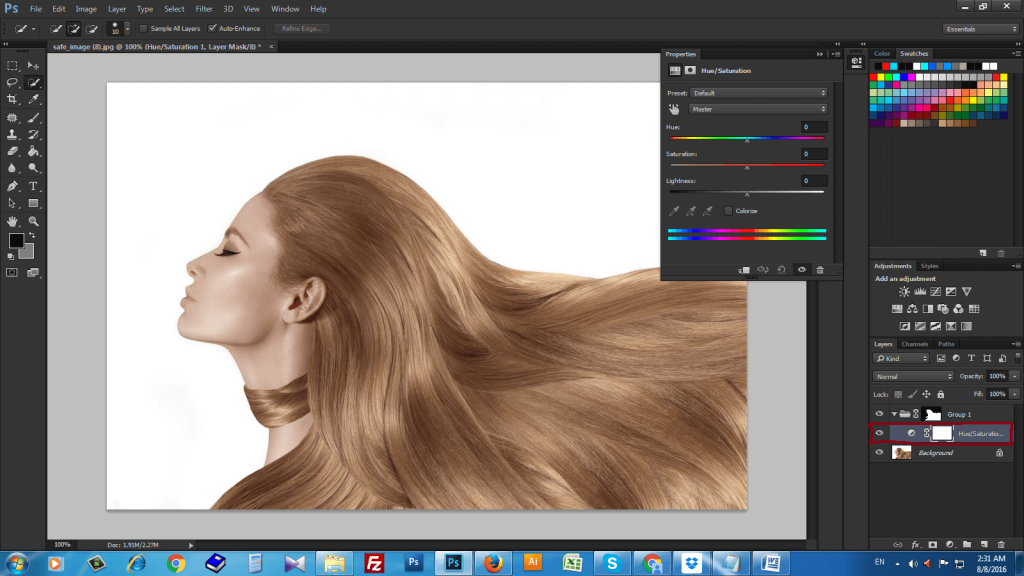
Then click and drag the layer and put it in the folder .
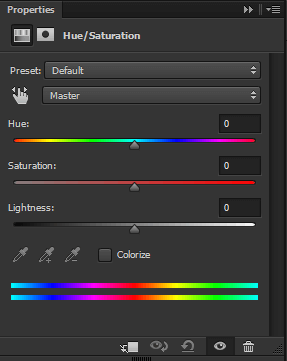
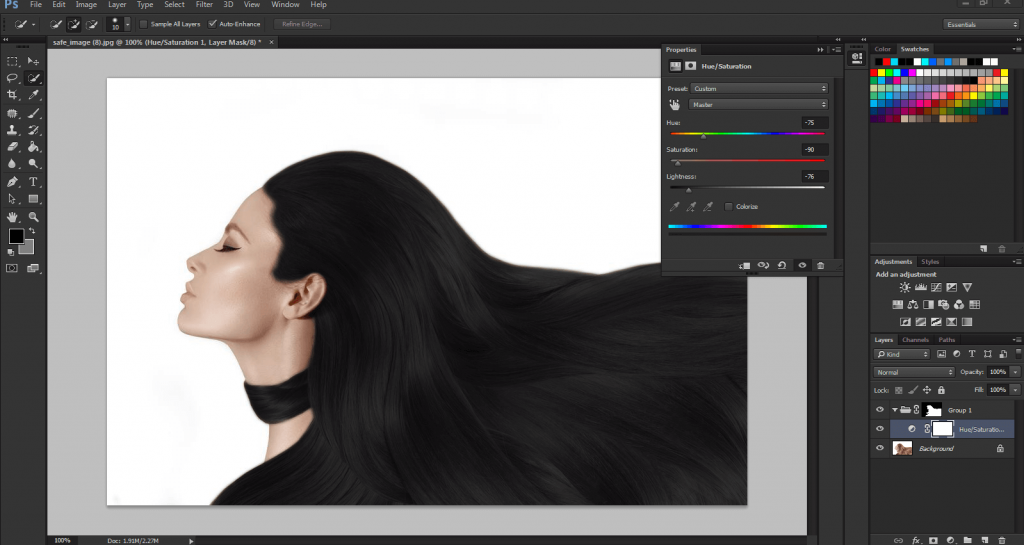
Now with hue and saturation slider we will make the adjustment what we want.
Now if we Desaturate the image, the adjustment will only take effect on the hair because it’s inside of the group. And this Layer Mask will becontrolling the hair. Here we have turned her hair into black by desaturation using Hue and Saturation option.
But the contrast is not good here and we have to make that darker. So, we will click on the New Adjustment Layer icon and select Curves.
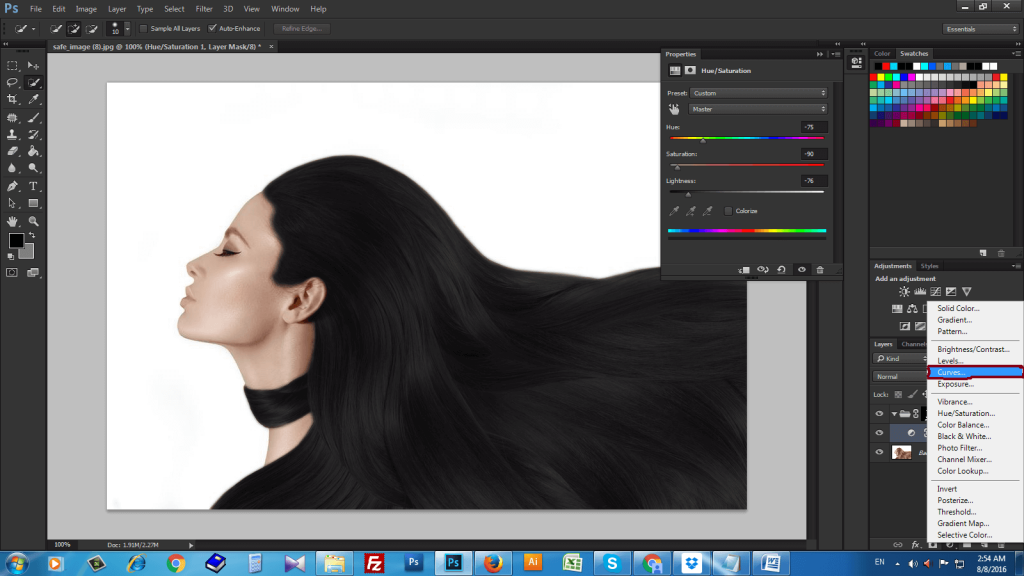
Now create a Curves Layer and darken that up according to your demand.
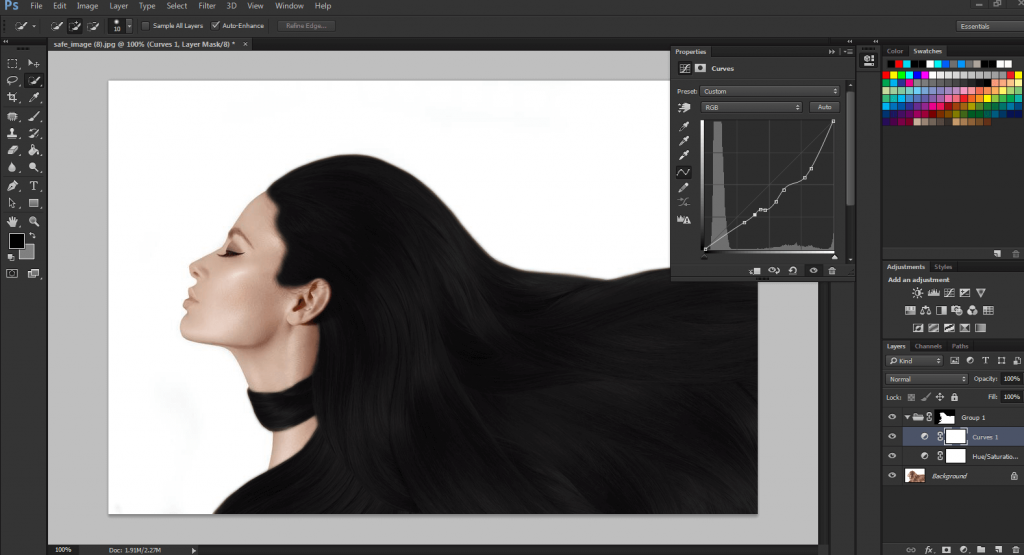
Now you can click on the mask and make adjustment if the image needs. You can paint with black to hide some bad effects.
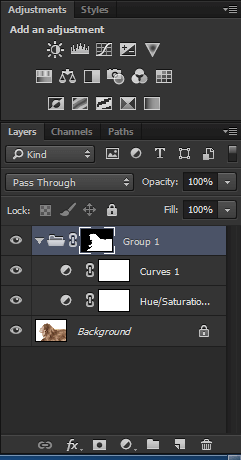
Here you have to select the Brush Tool and paint those areas carefully to make it more perfect. You should take Soft Brush in this case to paint those areas perfectly.
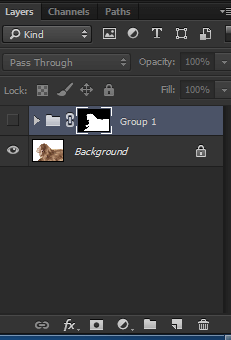
Now we will disable the group that we were working on. Here the original layer will only be active and the group layer will be inactive.
Then we will go to Channels panel, hold Ctrl and click on RGB thumbnail. This will create a selection on all the bright pixels in the image.
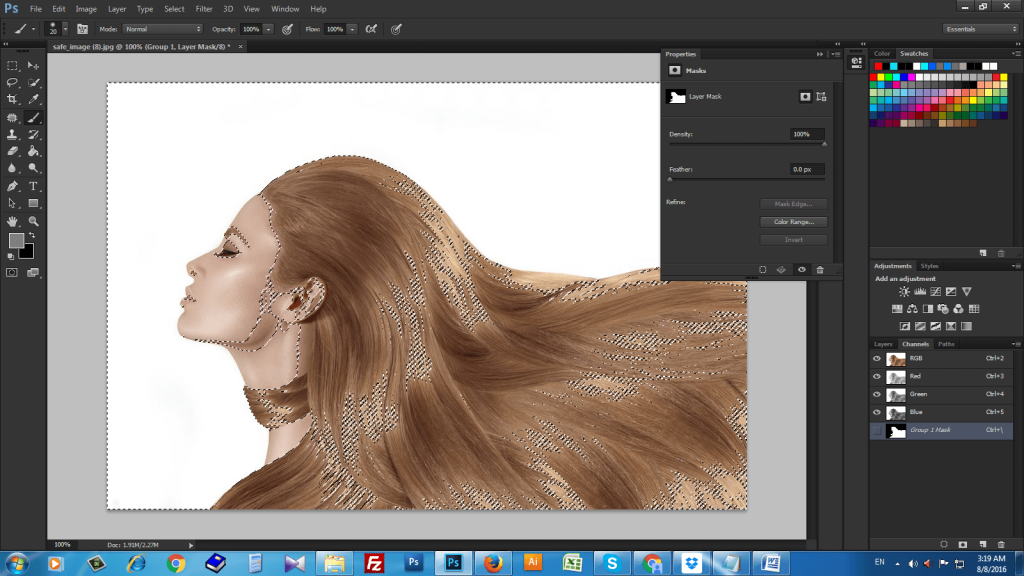
Then we will come back to the Layers panel, click on the original layer and make a duplicate layer by pressing Ctrl J.
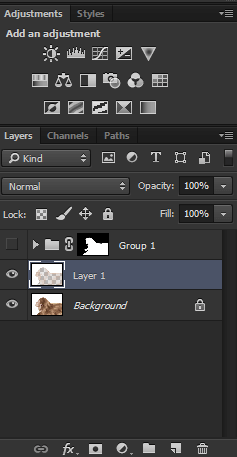
Then we will enable the group and original layer.
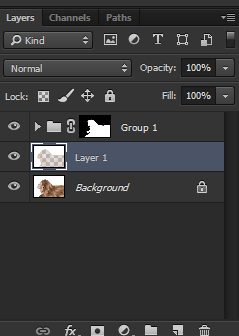
Now we will open the group, click and drag the Layer on the very top.
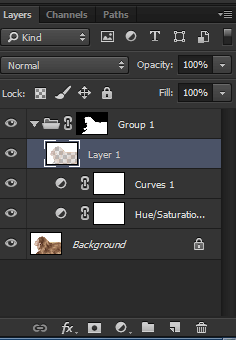
Now see what’s happened. The black hair gets some extra colors. This effect is a little too strong.
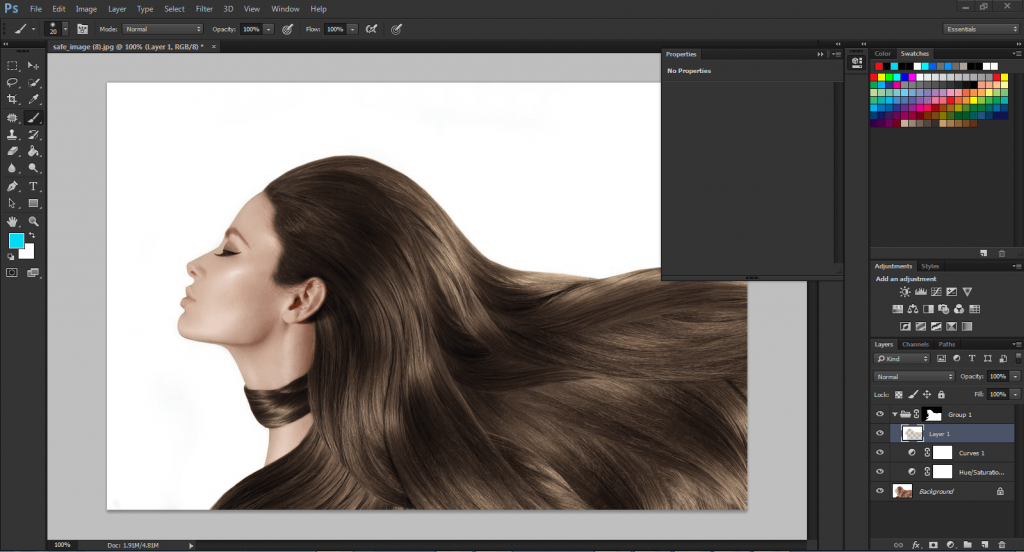
Then we will bring down the opacity and this will bring more perfect looking for the hair. Now the hair is realistic enough.
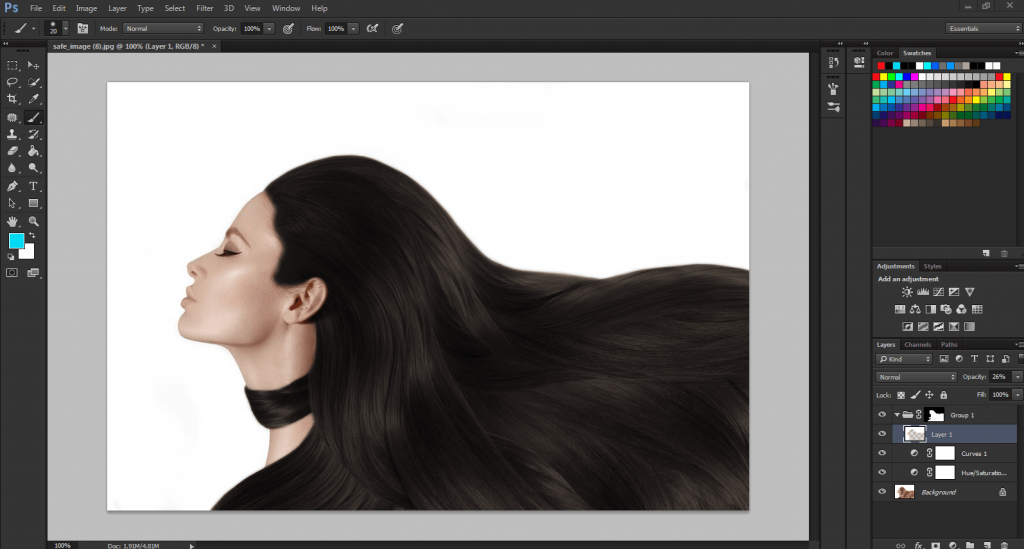
If you enable and disable the layer 1, you will notice the dynamic before and after change. And you can also take the Curves layer again to make that more and more realistic.
So, in this way we can change hair color in Photoshop of an image easily and quickly. Here you need to practice a lot by following all the steps carefully.


